
Are you ready to say goodbye to your artificial nails and give your natural nails a fresh start? Learning how to remove artificial nails at home can save you time and money while allowing you to take control of your nail care routine.
Before you begin the removal process, gather the necessary supplies, including acetone-based nail polish remover, a bowl, aluminum foil or cotton balls, a nail file, a buffer, and cuticle oil.
Using a nail file, gently file down the top layer of the artificial nails. This step helps break the seal and allows the acetone to penetrate the nails more effectively.
Pour enough acetone-based nail polish remover into a bowl to fully submerge your fingertips. If using aluminum foil, cut small pieces large enough to wrap around each nail. If using cotton balls, soak them in the acetone.
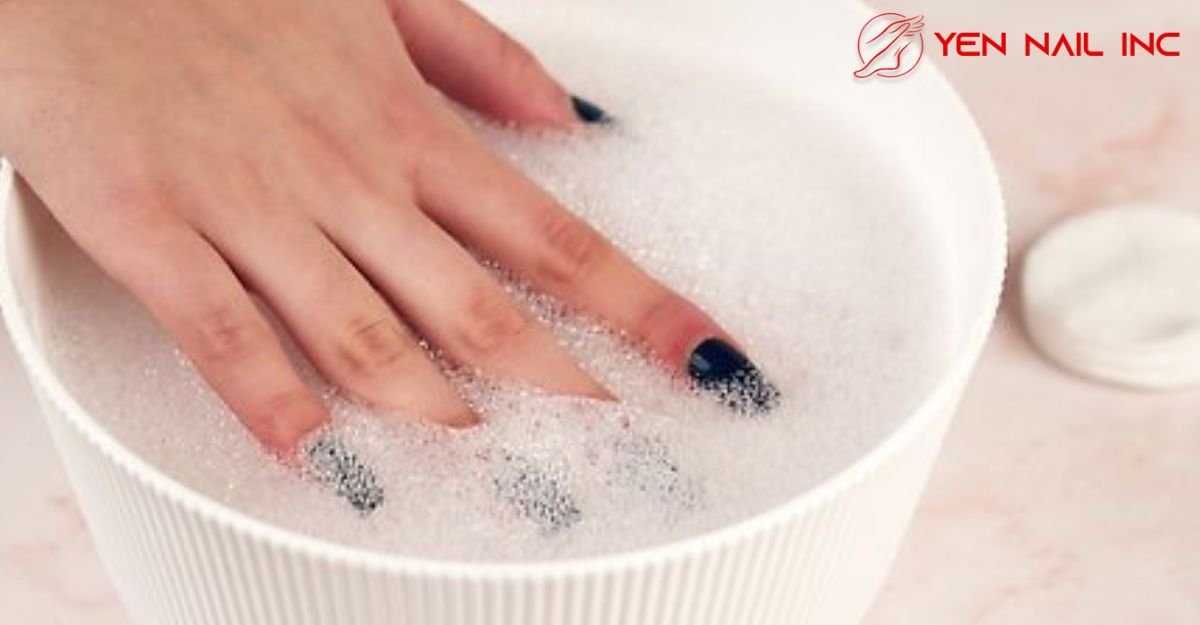
Place your fingertips in the bowl of acetone or wrap each nail with a cotton ball soaked in acetone. If using foil, secure the foil tightly around each finger to hold the cotton ball in place. Allow your nails to soak for approximately 15-20 minutes. This soaking process helps loosen the artificial nails for easier removal.
After soaking, check if the artificial nails have loosened. If they have, use a cuticle pusher or an orange stick to gently push and lift the artificial nails away from your natural nails. Be cautious not to force or pry them off forcefully, as this can damage your natural nails.
Once you have removed the artificial nails, use a nail buffer to smooth out any rough edges or residue left on your natural nails. Be gentle to avoid thinning or weakening your nails. Afterward, apply cuticle oil or a nourishing hand cream to hydrate and replenish moisture to your nails and cuticles.
Thoroughly clean your nails and hands to remove any remaining acetone or debris. Trim and shape your natural nails as desired. If necessary, apply a strengthening base coat or nail treatment to promote healthy nail growth.
